
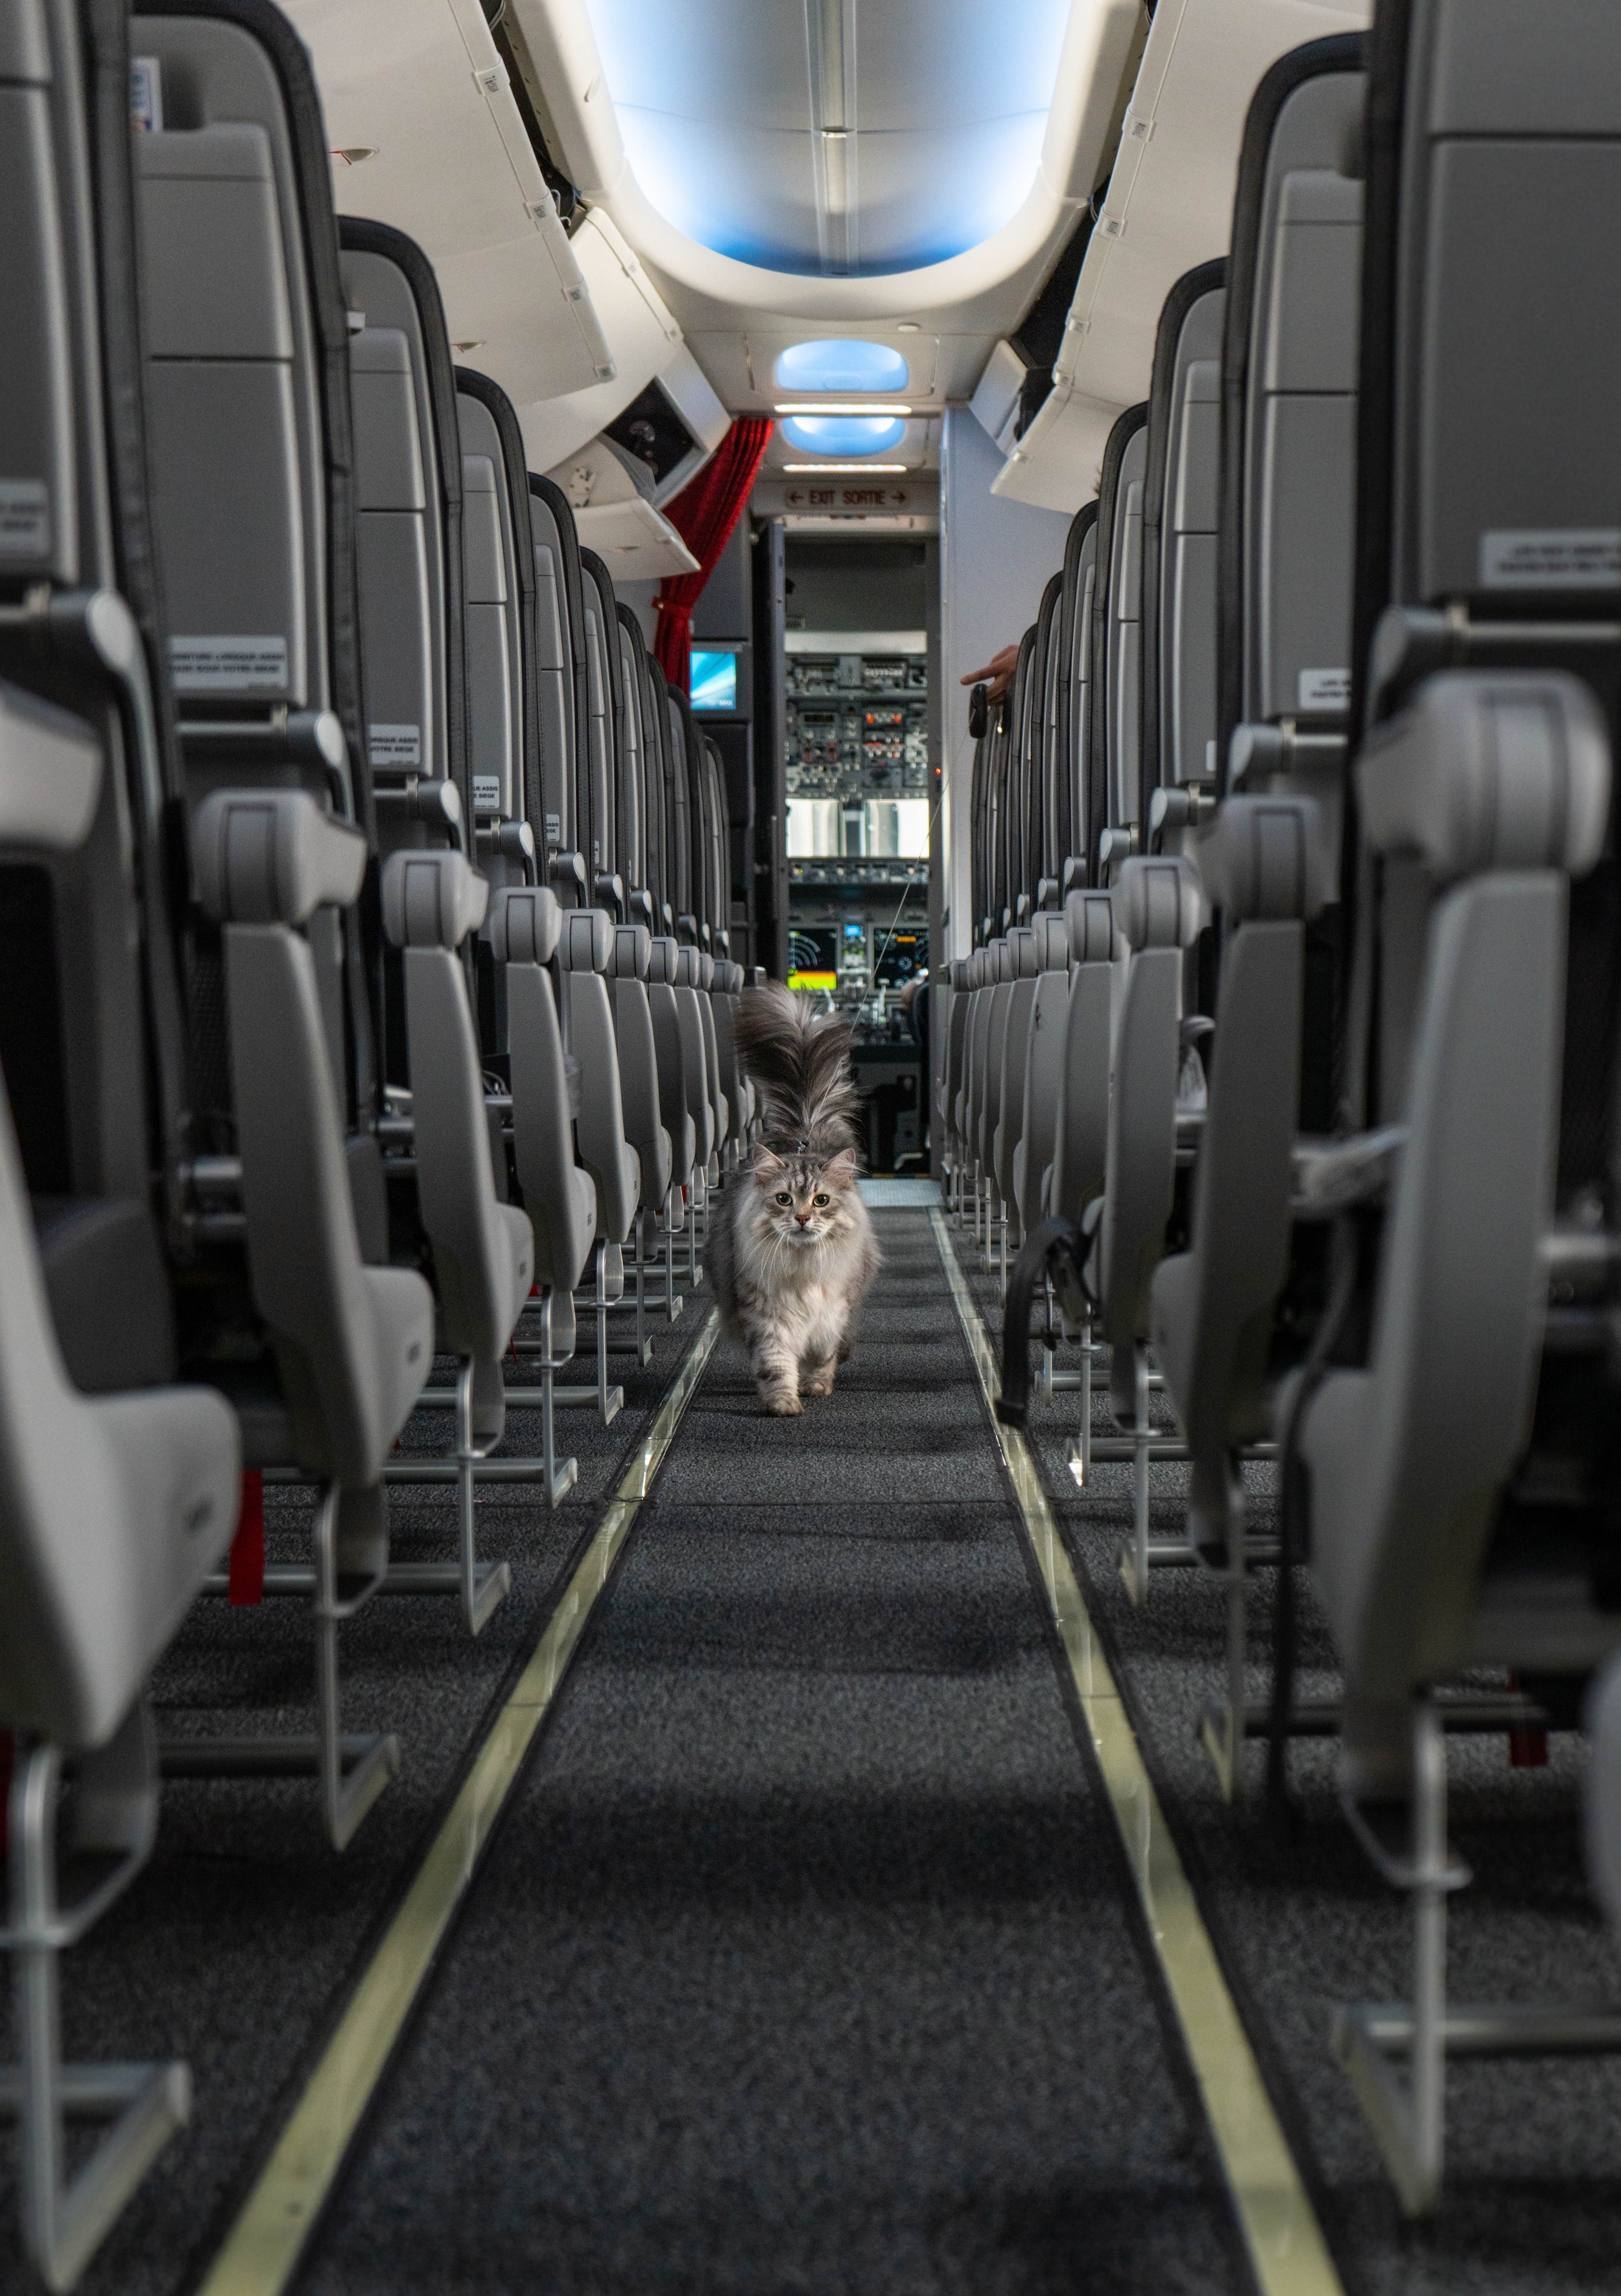
How to Fly with a Cat
Flying with a Cat in 4 Steps
While flying with a cat is absolutely possible, you need to be willing to put in the extra time and money to make it work. Please also take the time to consider whether your cat is suitable for flying as some cats, especially those not at all accustomed to being away from home, may find the process very stressful.
Regardless of your reasons for flying with a cat, I’ve outlined what you need to know along with some tips to help ensure your plans go smoothly. To make this easier to read, I’ve broken everything down into four parts:
Also keep in mind that you may need to do more or less depending on where you are from and where you plan to go! For example, some countries like Britain, Australia, or the Maldives have very strict rules and many restrictions. Countries that are declared rabies-free also tend to have less restrictions than countries with higher rates of rabies. Everything below is meant to be a suggestion based off of my own experiences, so make sure you consult other resources when planning your trip!

Research the laws in your country of destination
Every country will have different laws and requirements when it comes to accepting pets, and you must meet all the requirements to ensure your pet is welcomed. Keep in mind that this applies for layover flights as well! You also need to take your country into consideration as some countries are flagged for things like higher cases of rabies. You can find information online quite easily, but always cross reference any information you find on third-party websites with a country’s official government website.
Here are some common requirements you should research before booking any flights:
Quarantine rules
Microchip requirements
Rabies vaccines
Rabies titre test
Health certificate or pet passport
Additional vaccinations
Breed, age, and weight of your pet
Part I: Planning Phase
2. Acquire the necessary travel documents for your pet
Once you know what requirements you need to meet to enter your country of destination, you need to begin preparing the necessary travel documents. Typically these forms should be in the main language of the country you are visiting and/or English. These forms are often found on official government websites and will vary by country. Keep in mind that you may be required to get documents to enter a country as well as to leave it. For example, when traveling to Japan, you will need to work alongside their Animal Quarantine Service to acquire both an import and export form and schedule a pet inspection upon entering or exiting the country.
In Canada, you will need to get a Canadian International Health Certificate for your pet that is printed in the language of the country you are visiting. These forms must be signed by a licensed vet and then endorsed by the Canadian Food Inspection Agency (CFIA). If you are visiting the EU, then you must complete a non-commercial export of pet form while Japan requires you to complete their version of an export form.
You must ensure this paperwork is properly completed for your pet to travel as there will be no exceptions if you make a mistake. The time sensitive nature of the documents is also nothing to take lightly, and it’s highly recommended that you book your vet and CFIA appointments more than a month in advance.
When traveling to Europe, we needed to ensure the import form was signed by our local vet within 10 days of entering the country of destination and then that form also needed to be endorsed by the CFIA before our flight. There is always a possibility of your pet not being approved, so you should plan accordingly as it can be very difficult to cancel any bookings within 10 days of the trip.
If you are traveling from Canada and find that your local CFIA office is fully booked, you can always try to book at another nearby location (even if it’s in another province) even if they say you can only work with the city closest to you.
3. Ensure your pet is vaccinated according to the laws of the destination country
Vaccinations are no joke when it comes to pet travel, and you must make sure your pet’s vaccinations are up to date. You also need to check that your pet has received a vaccination that is approved by the destination country; some places will not accept the three-year rabies vaccination that is commonly administered in North America or the country may have specific rules about when a three-year vaccine is or isn’t allowed.
Another common requirement is a rabies antibody titre test which can take time to process, especially if the test sample needs to be shipped to another country with an approved lab. Most of the required information should be available on official government websites and can be researched further online.
Some countries will also ask you to have additional vaccines that fight diseases that are more prevalent in that country. Do note that dogs will also have different requirements from cats!
4. Find airlines that allow pets to fly in the cabin
While pets are often allowed to fly in the cargo area, it is much safer if you can take your pet into the cabin. Doing this ensures your pet does not get lost or harmed during storage and also allows you to provide comfort to them mid-flight as many animals will feel more anxious when separated from their owners in an unfamiliar environment. It is not uncommon for there to be cases of pets dying or getting lost when placed in the cargo area, and so it’s better to keep them with you for peace of mind whenever possible.
Just as every country has its own regulation, so too does every airline. You can usually just search “[airliner name] pet policy” to get to the airline’s official website. Be careful as some airliners will claim to be pet-friendly while only allowing pets in certain classes. For example, United allow pets in Economy Class but will not allow pets in Economy Premium or Business Class while Air Canada may not allow pets in Business Class depending on the length of the flight.
5. Get a pet carrier that fits within your chosen airline’s guidelines
Every airline will have specific measurement requirements for pet carriers, so double check the size of your carrier. We find soft shell carriers work better as airlines are more lenient with their size as they can be compressed to better fit under the seat. We like to use Mr. Peanut’s carriers as some of them come with an extension that pops out to provide the cats with a little bit more space (although this means you will have even less legroom).
Ensure that whatever carrier you use is comfortable for your pet and provides enough breathability while still maintaining a strong structure. Some cats are known to scratch or fight against carriers while in the air, so always double check that the mesh has no rips or weak points as the last thing you want is for your pet to escape mid-flight.

In short, here’s what you need to do:
Research the pet entry laws for your country of destination
Acquire the necessary travel documents for your pet
Ensure your pet is vaccinated according to the laws of the destination country
Find airlines that allow pets to fly in the cabin
Get a pet carrier that fits within your chosen airline’s regulations

Part II: Booking a Flight
1. Limited cabin space
Booking your flight in advance can sometimes get you good deals, but it’s also worthwhile if you plan to travel with a pet. Most airplanes have a limited number of seats available for pets as a way to ensure people with pet allergies can still have a comfortable flight. During my research, it seems that most planes will only allow 2 pet bookings for the Economy cabin and 1 pet booking in Business Class.
Keep in mind that the number of pet bookings does not always equal to the number of pets allowed on board. For example, if you were to book two seats with two additional pets as carry-on, that would still only count as 1 pet booking.
Due to the limited cabin space for pets, any changes to your flight can be risky as you will need to ensure the new flight has not been fully booked for pets.
2. Select pet-friendly seats
Now that you’ve identified a pet-friendly airliner, you can start to think about picking seats. Always read through the pet policy of your chosen airline to ensure you know what is expected for pets. Most websites will be coded to prevent certain seats to be taken by pet-owners, but sometimes mistakes happen.
Even if the website gives you the option, always avoid booking seats at the front of the plane or in the emergency exit rows as there are rules against having pets in these seats. We made the mistake of booking front row seats in hopes of getting extra leg room, but we were quickly moved to another location due to there being nowhere to safely stow the cats.
We have also encountered airlines that require pets to be under window seats as they are considered tripping hazards in the case of an emergency. Even though this was the rule, the booking website had allowed us to select seats in the aisle without any notification or warning.
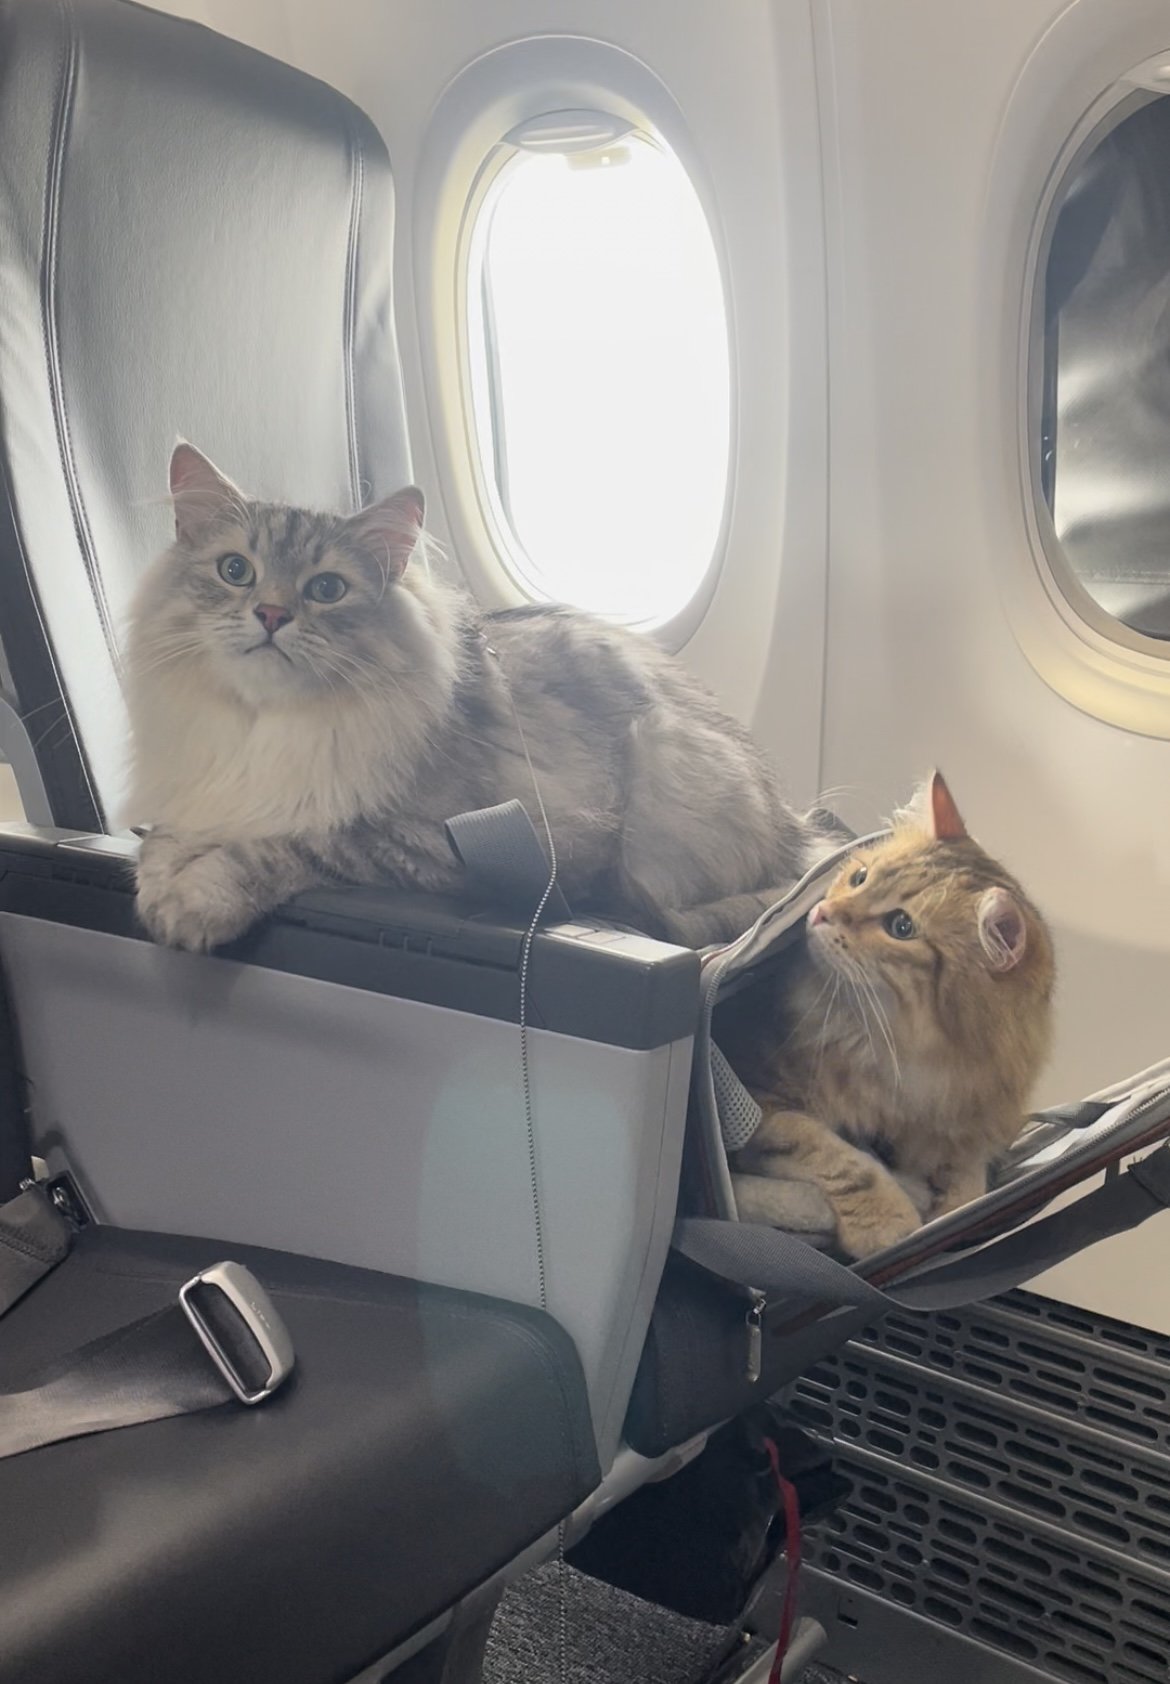
3. Multiple cats
You may run into some difficulties if you are trying to travel with two cats by yourself as each cat must have its own seat to sit under. Some airlines only allow one cat per person unless you purchase a second seat. There are often exceptions for kittens as they are able to share the same pet carrier.
If you are like me and travelling with someone else and two cats, make sure you call ahead to confirm that you are allowed to sit together. In the past, we had a cabin crew member force us to move despite there being nothing on the website stating that two pets couldn’t sit together (and we had flown together on the previous flight with the same airliner).
4. Paying pet fees
Pet fees will vary depending on the airline you choose and the method of transportation. Typically, the fees for transporting a pet in the cabin are cheaper than transporting in the cargo hold.
Carrying a pet onto a plane counts as an extra piece of carry-on baggage, and you must pay the pet fee, even if you have no other carry-on luggage. Pet fees can cost you anywhere from $50-300 per pet depending on where you are flying to and which airline you choose. For a roundtrip flight that was direct from Vancouver to Paris, we paid an additional $500 in pet fees for two cats. Keep in mind that these fees are per pet and per one-way flight, so it is best to book direct flights over layovers to avoid paying the pet fees multiple times.
5. Call the airline
You’ve done your due research, booked your flights, and even paid the pet fee, so you should be good to go, right? Unfortunately, you may need to make some changes as completing all of the steps above does not guarantee that your pet has a spot on the plane. This might be one of the most frustrating parts of flying with a pet because some airlines will outright refuse to give you any information about other pets on the plane until after you’ve already paid for your flight.
Immediately after booking your flight, you should call the airline and provide your booking number to confirm that there is actually space for your pet. If the plane is already booked for pets, some airlines will tell you about other available flights; if you’re unlucky, some airlines may just shrug their shoulders and say they can’t tell you if the other flights have space and ask you to keep blindly paying change fees until you find a plane with space (we’re looking at you, Air France).
Due to this uncertainty, it is highly recommended that you pay a bit extra to get cancellation or flight change protection when you are flying with a pet as securing a seat isn’t always easy!

Part III: Airport Expectations
1. Research airport rules
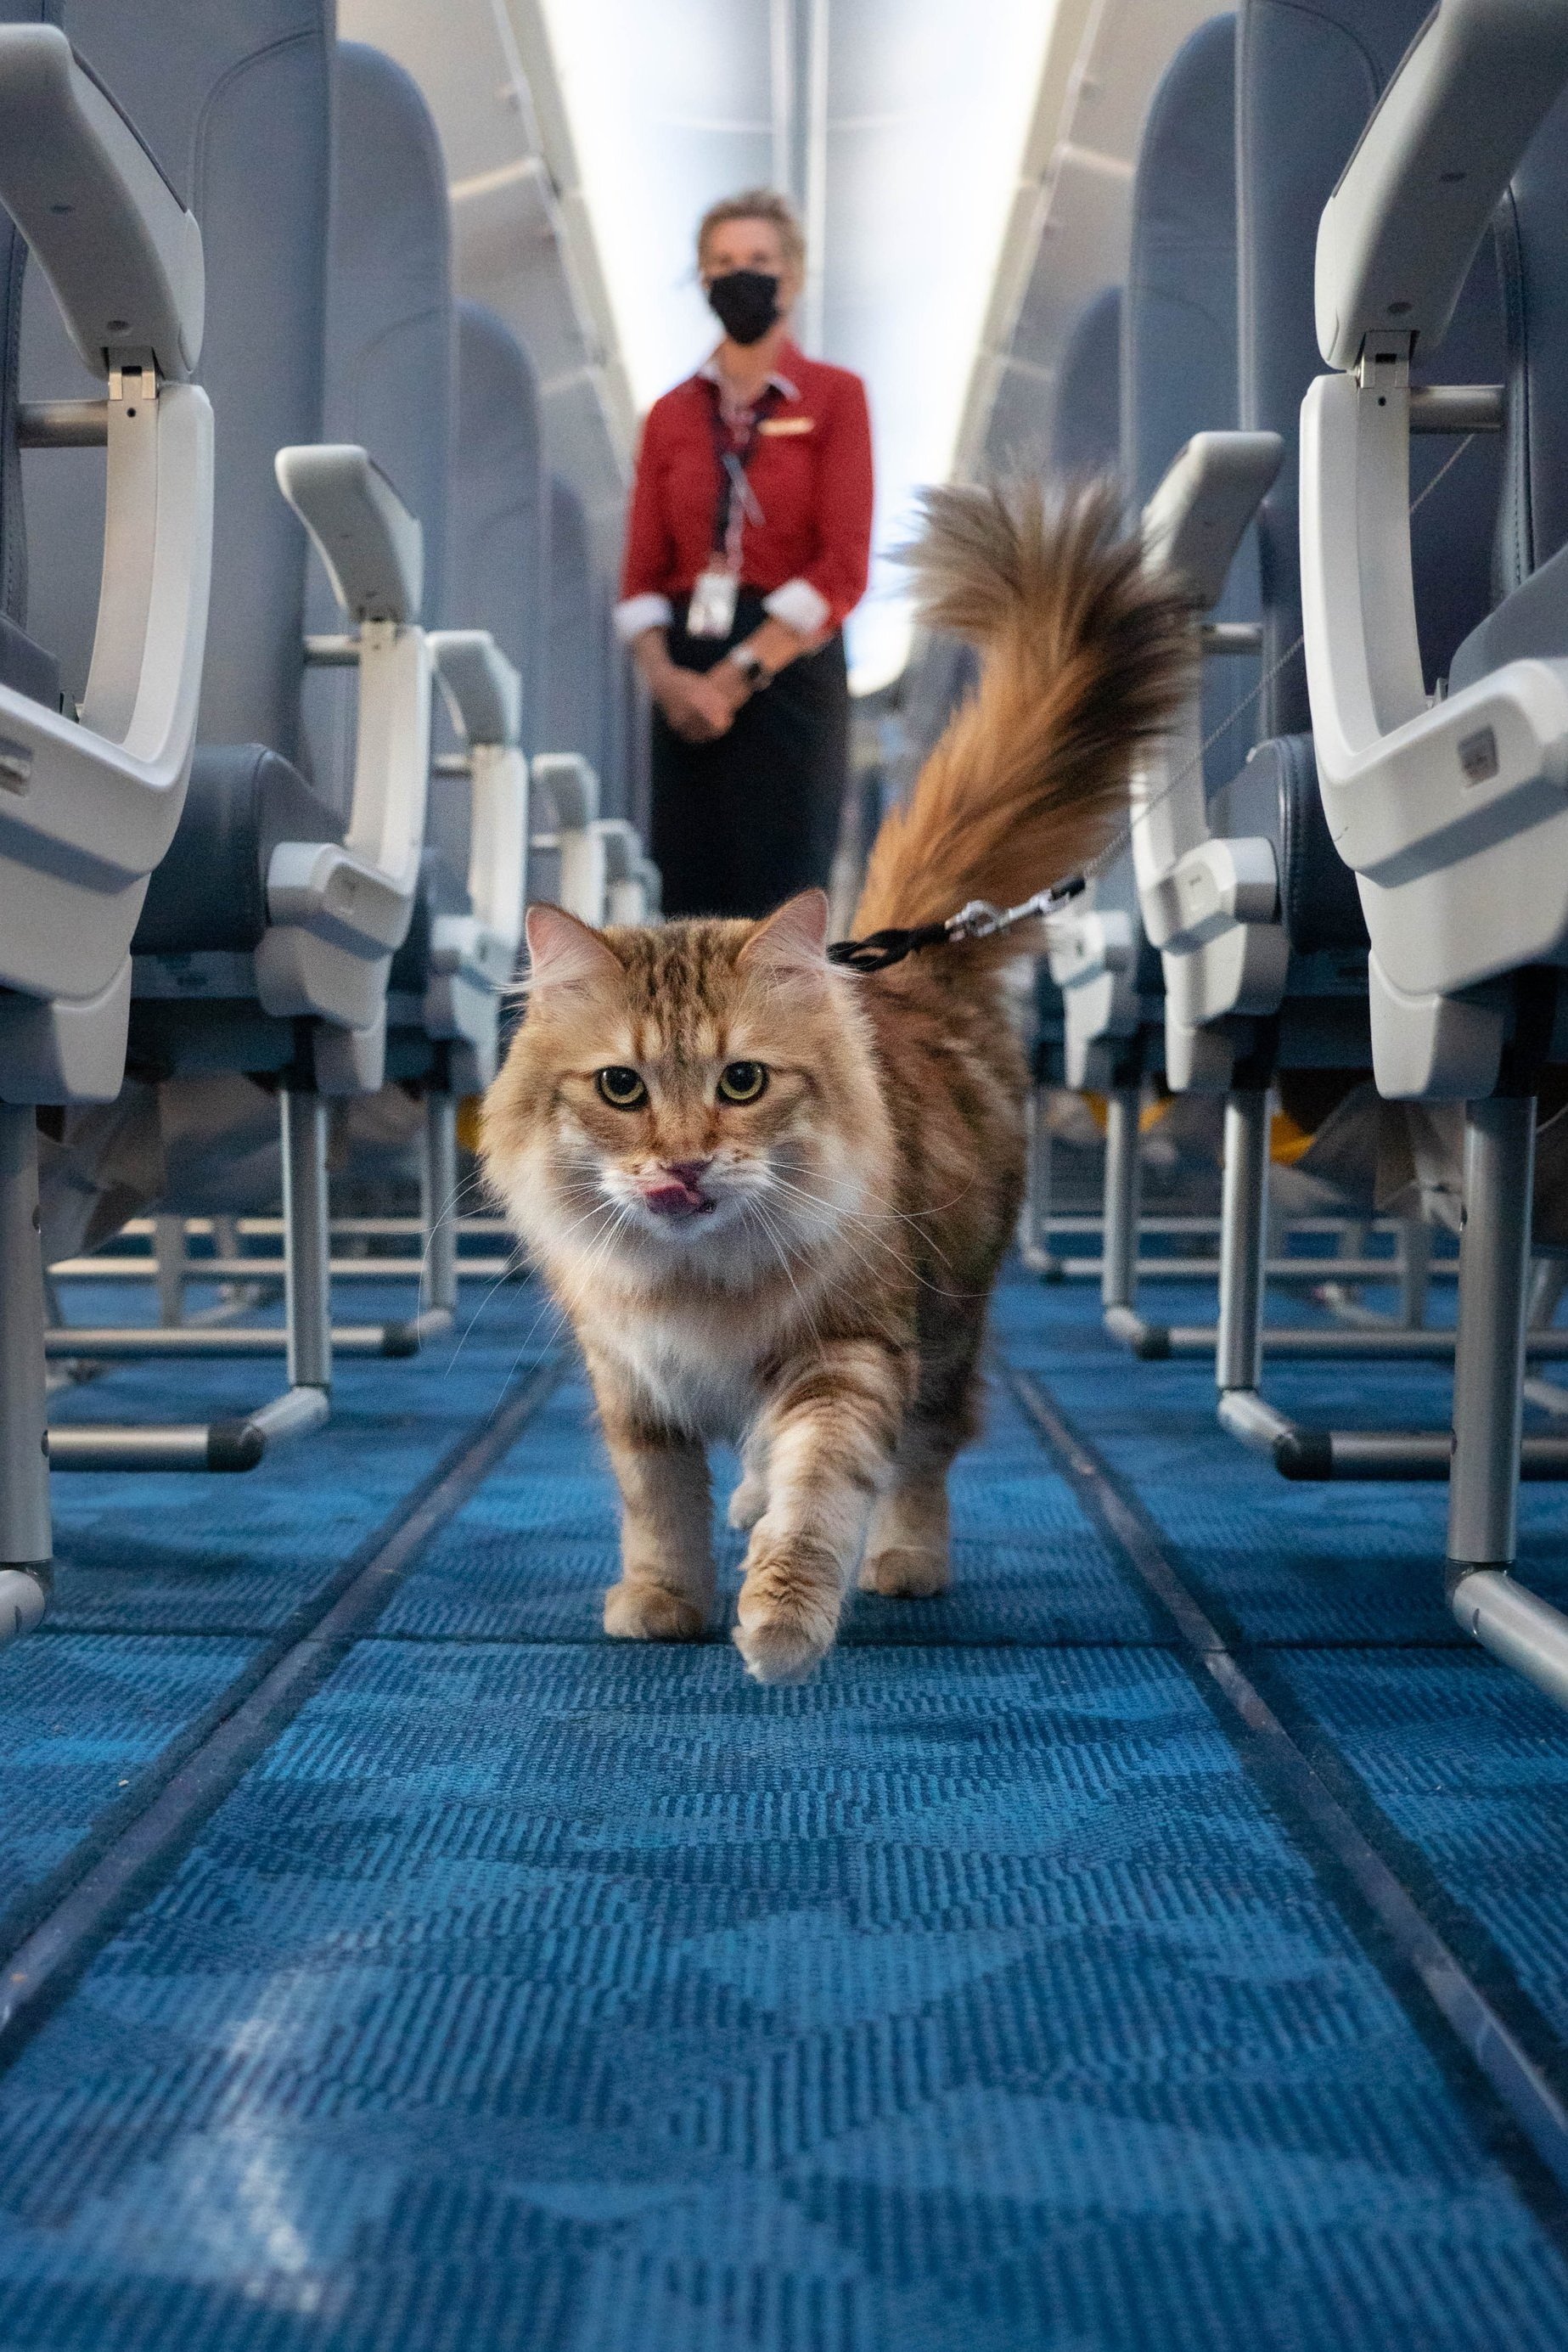
Continuing the pattern of “different country, different rules”, you should take the time to figure out the pet policy for any of the airports that you will be visiting. Most places will allow pets in their carrier, but some will be even more pet-friendly and allow pets to walk around while leashed.
It is also helpful to identify whether the airport has a designated pet relief area, although you may find your cat is against occupying a space that is typically frequented by their canine counterparts. If not a pet relief area, you’ll want to find a quiet space for your cat to use its litter box before and after a flight.
2. Check-in process
The check-in process will also be situational. If you are flying domestic, you can often get away with completing an online check-in and then going on your way to security. When it comes to international flights, you may be required to line up and speak to an airline member to confirm your pet’s spot on the plane.
3. Security check
When going through security, your pet will need to be removed from its carrier and held in your arms when you go through the scanner. If your cat is not used to being in loud and busy places, you should be extra cautious taking them out of their carrier and be prepared to face some resistance. You are also allowed to request for a private security check, although some airports may not have the necessary amount of staff to fulfil your request.
It is recommended that you keep your cat in the carrier for as long as possible which means unpacking any electronics or liquids before grabbing your cat. If it’s not too busy, you may be able to keep your cat in the carrier until right before the carrier goes through the X-ray machine. You will likely receive extra attention from the security agents if you bring a pet and may be individually scanned for hidden substances in your hands or waist area. Once you are in the clear, pack your cat back up before attending to your other carry-on items

4. Airport lounges
After you’ve booked your flights, check to see if there are any special lounges in the airport and terminal. While it’s perfectly fine to wait in the public lounges outside your gate, sometimes the constant flow of people and loud announcements can stress out your cat. Finding a seat on a busy day can also be a bit of a nightmare, especially if you aren’t traveling alone, and there isn’t much privacy out in the open.
Airport lounges can make for the perfect waiting spot as they tend to have a calmer atmosphere and sometimes you can find hidden corners, so take advantage if you have access to any lounges. If you don’t meet the requirements for free entry, you can always pay the entrance fee which might be worthwhile if your cat doesn’t do well in busy environments. If you decide to visit one of the special lounges, you will likely need to keep your cat in the carrier, but the calmer environment (and sometimes free food!) may be more suitable for you and your cat. Just make sure you don’t overstay your welcome :)
5. Waiting to board
While it’s not guaranteed to get results, you may be able to request the option of pre-boarding the flight if you politely speak to the attendant managing the gate. A few airlines will have built in policies that allow for pets to pre-board along with passengers with mobility issues. You may also have the option to get priority boarding while purchasing your tickets which can be helpful as navigating the narrow aisles with a carrier can be particularly challenging.

Part IV: In the Air
1. Settling in your seat
Once you’ve boarded the plane and found your assigned seat, you need to make sure that your carrier fits underneath the seat in front of you. You should also be mindful of any requests made by the flight attendants, especially if it turns out the passenger beside you has allergies, but also be ready to stand your ground. Never allow your pet to be stored in the overhead bins as they could suffocate. Also, feel free to make references to the airline’s online pet policy (which you hopefully read beforehand) if you feel you are being asked to do something that feels wrong or jeopardizes your cat’s safety.


2. Takeoff and landing
During takeoff and landing, your cat must be stowed underneath the seat in front of you. You may hear some meows from your cat during this time as they will feel the change in air pressure without understanding what is happening. It is thought that pets experience similar sensations in their ears due to the pressure changes, and so letting them meow or feeding them some treats right after takeoff may help to pop their ears. While it may be uncomfortable, this change in pressure only causes a temporary sensation and shouldn’t cause any lasting harm to your cat.
3. During the flight
The best case scenario when flying with a cat is to have a very uneventful flight. Ideally, your cat will be fine to stay in its carrier for a few hours and won’t make too much noise. If your cat starts to complain or show signs of stress, you should try to reassure them with pets and calming words. Some cats may react well to treats, but if you’re on a longer flight you can’t be expected to feed your cat treats for hours on end. If your cat begins to meow, there often isn’t much you can do other than apologize for the noise to those around you.
For cats that are naturally more skittish, you may want to speak to a licensed vet about possible solutions. There are some medications that reduce anxiety for cats and these can be very useful when your destination is far away. If you receive medication, make sure to follow the instructions provided by the vet. It also goes without saying that you should avoid giving your cat over-the-counter medications without first consulting a licensed vet.
4. Washroom breaks?
Going to the washroom on a plane is bothersome as a human, but it can be even more difficult with cats. Just imagine sitting in the window seat and trying to climb over two strangers with a cat carrier in hand…
Interestingly, many cats will choose not to go to the washroom and are capable of holding it for the duration of the flight; however, for longer flights, you may want to try bringing your cat into the airplane washroom.
Full disclaimer: some flight crew will allow this while others will say it’s not allowed. I actually haven’t found many written rules about this anywhere... Still, sometimes it’s easier to ask for forgiveness than for permission. Keep in mind that for a mid-flight washroom break to work, you will need to pack a portable litter box and some litter in your carry-on luggage. You can learn more about the process here.
If you’d rather not get reprimanded by the airline staff or just don’t have space for a portable litter box, you can always place pee pads within your cat’s carrier to help absorb any potential accidents.
A Final Consideration…
Remember that if you are catching an international flight that is 9 hours, your cat will need to be in their carrier for closer to 13 hours as you are expected to arrive at the airport 2-3 hours before departure and it usually takes at least another hour to get out of the airport. It is also likely that your cat will remain in the carrier while you are making your way to and from the airport, and this can also add another hour or two to the total time your pet will be constrained. If you don’t think your cat can handle staying in their carrier for lengthy periods of time while surrounded by loud noises and in an unfamiliar environment (also with no guaranteed bathroom breaks), then you might want to just leave them at home unless it’s absolutely necessary to take them with you!
And here’s the final word from Reinhardt: hjuk.